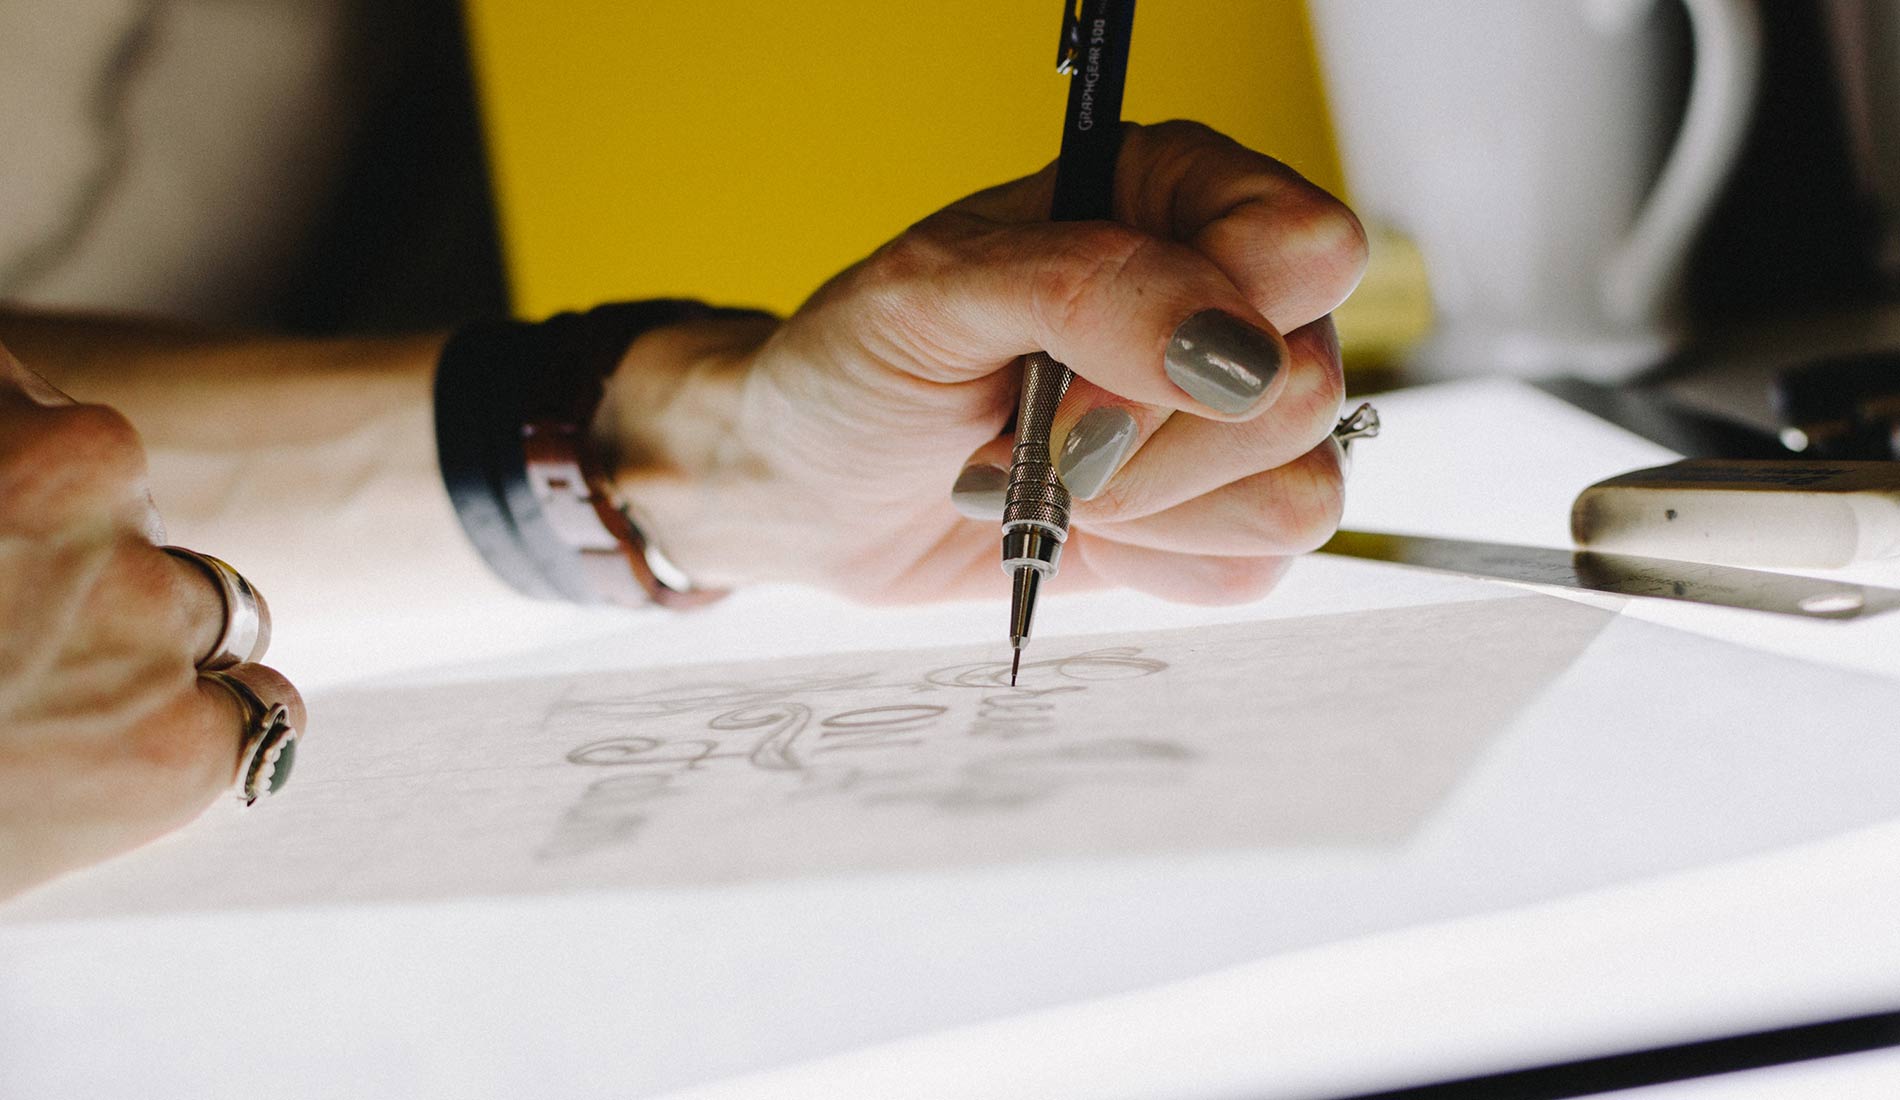
Sometimes a brand needs a more personal feel. Perhaps it’s the handwritten signature of a key person in your organization. Or maybe it’s a free-hand drawing that will best represent your brand and help you stand out from the rest.
Graduating from college with a Studio Art major has sort of paved the way for my creative process and set me apart when comes to graphic design. Although I love to think in organized, technical ways, I also really enjoy getting to use my more free and creative side of my skillset from my fine art background. Having been trained in subjects like drawing, painting, and ceramics has allowed me to think outside the box in terms of branding and graphics and has allowed me to be a creative and critical thinker. With that said, incorporating drawings has been one of my favorite things to do! If you have the right tools and a willingness to learn, then you too can create!
Every client has different branding and creative needs, but it’s always fun to work on projects for clients that require handmade sketches, or digital sketches. Sometimes it’s nice to add hand sketch things, digitize them, and use them that way. Other times we need to be a little quicker and using a design program like Adobe Illustrator can help greatly!
Using illustrator to draw can create great look-a-like sketches. It’s a bit of a learning curve to draw with a mouse, and you will need a subscription or free trial for Adobe to start. You can choose to free hand sketch, find a photo to use to go off of for inspiration, or even trace a photo. You’ll want to start with your “Paintbrush Tool” (located in the left-hand sidebar). In your top bar you can select the “Brush Definition” you’d like, but I typically always start with the “Basic” line. This basically mimics a pencil and creates easy to see lines. In the left toolbar, you can select the color you would like to work with. It’s okay to leave this set to black if you’re working with a white background and just change the color after.
Once you have your tool, brush type, and color selected it’s time to get drawing! Allocate some extra time for getting used to the mouse’s movements. Press down on your mouse and hold while you move it to create a line. Once you get the hang of it and finish your drawing, click and drag your mouse selection over the entire drawing. Once you have it all selected, you can then play with the stroke you’d like! I love using Illustrator’s “ChalkCharcoalPencil” function. You can adjust the stoke of the line, making it thicker or thinner, by going to the top toolbar and using the “Stroke” element. You can use a predetermined size, or input your own width, such as .15. Once you have that all set, you can then select the color you’d like. Use what works best with the application and background.
And there you have it! It may take some extra work, but it’s worth it in the end to have original, hand drawn elements in your library of branded graphics.

DARCI Creative
Total Brand Agency


